- HandmadeCardsbyKim
- Card Making Ideas
- Adding a Greeting
How To Make Greeting Cards
That Stand Out From The Crowd
Many times when we make greeting cards, it's not necessary to put a greeting on the front of the card, what we write inside is enough. Special occasions like birthdays and holidays need that special greeting.
Except for those who have mastered one of the professional graphics programs, adding a professional looking greeting to an image has always been a challenge until now. Thanks to Google's Picasa, it's now a very simple process that you can easily include when you make greeting cards.
Picasa, a great free program from Google, is all you need and you can click on these links for a free download.
Picasa (Click here for free download for PC)
(Click here for free download for Mac)
When you first start Picasa, you will tell it which file types - .jpg, .gif, .tif etc. you want it to find and which folders to look in. After the initial search, you can change your search options through the Folder Manager under the Tools button.
Important: Picasa never changes your original! This means that, after you have applied a greeting or some other change, you don't have to go back and download another original of the card that you chose. You can use the same original to make greeting cards with as many different greetings as you want.
Note: Google has been saying that Picasa is no longer available but I am still using it and continue to download to new PCs. When it does eventually go away, there are many free alternatives available.
Let's add a greeting.....
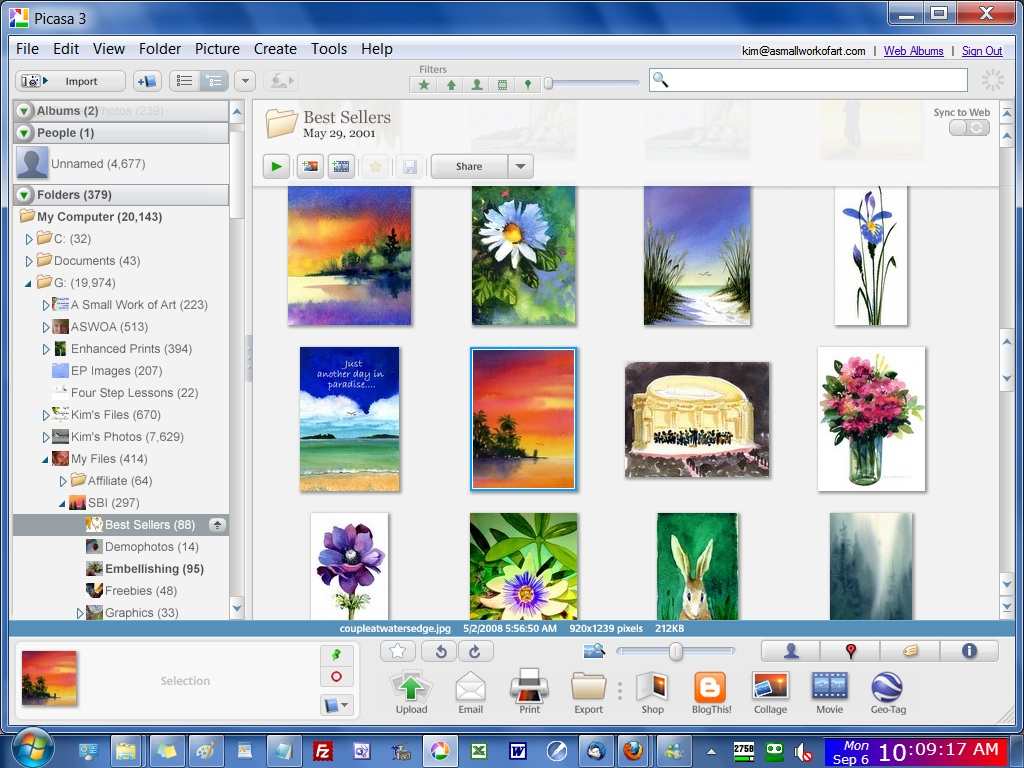
1. Open Picasa and you will see your folders listed on the left. Select the folder you want.
Click on any image to make it larger.
Click again to return to this page.
|
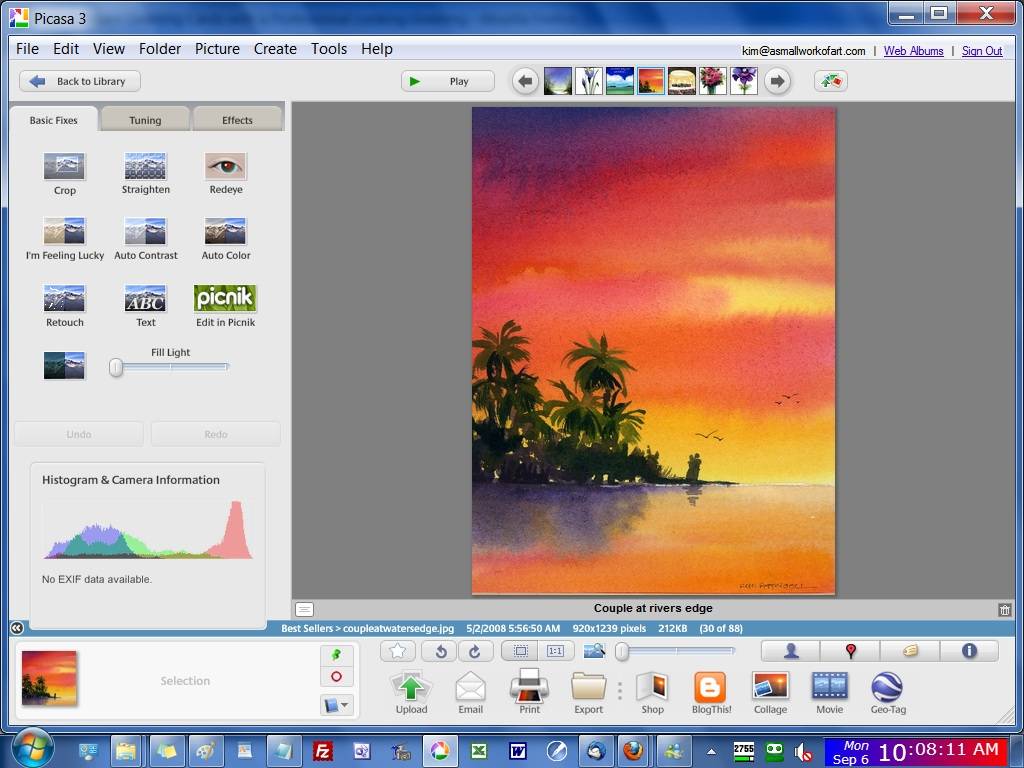
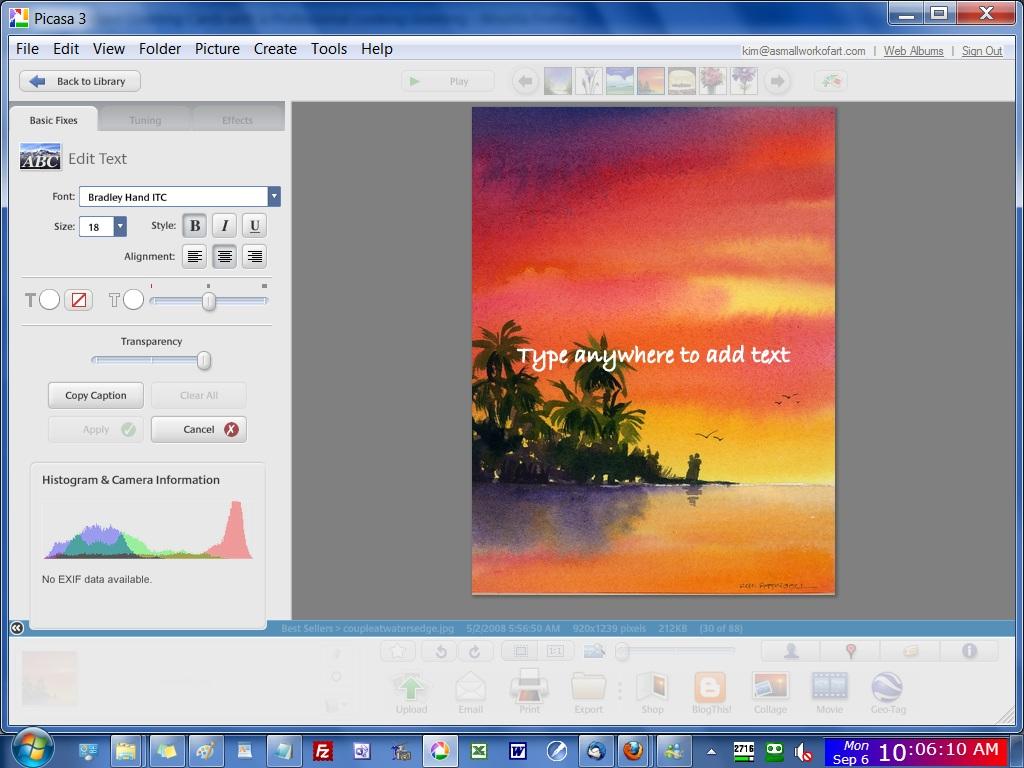
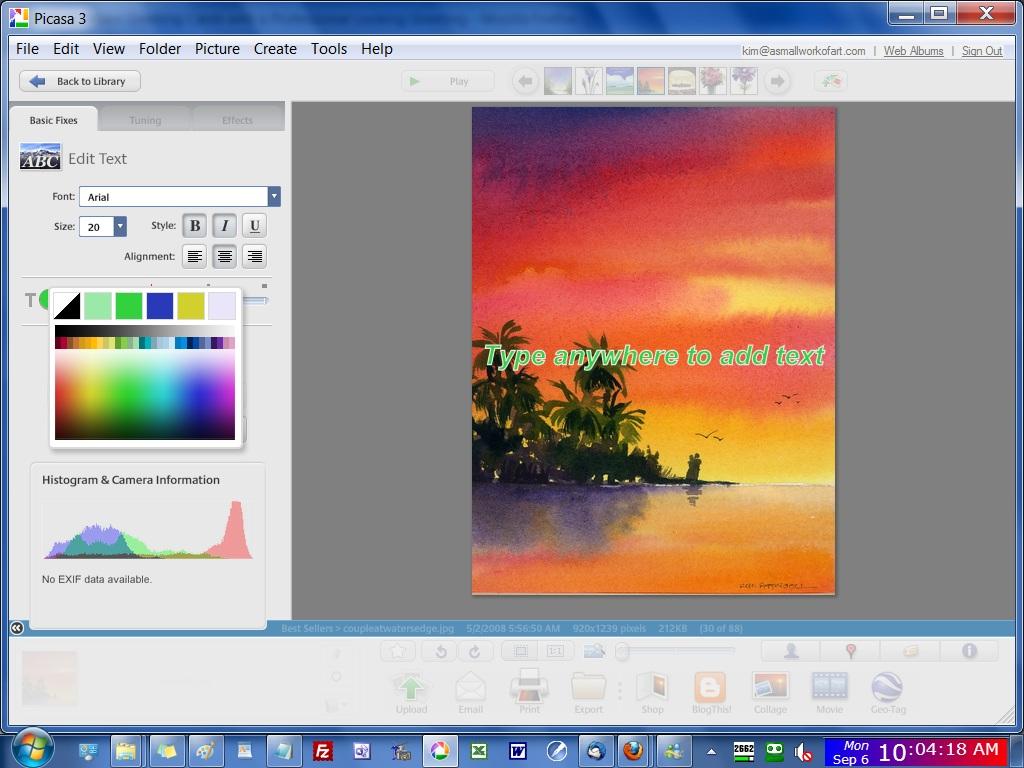
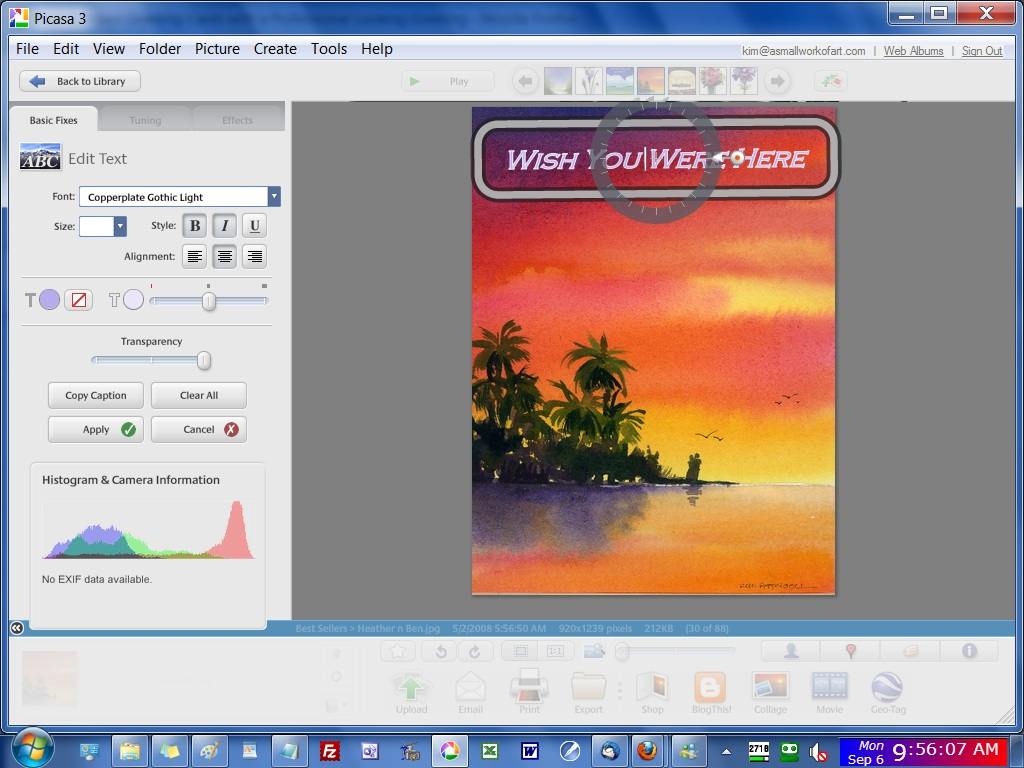
3. Click on ABC and you will see the instruction "Type anywhere to add text". 4. Spend a little time moving your cursor over the various buttons to see how they affect the text in the center of the image. Here I have changed the font to Arial, size 20, bold, italic, blue edging, green fill.
|
|
5. Now click in the general area that you want to put your greeting and start typing. The box that opens up can be moved and rotated to any position that you want. You can drop down the font list and pass your cursor over the fonts until you see one that you like.
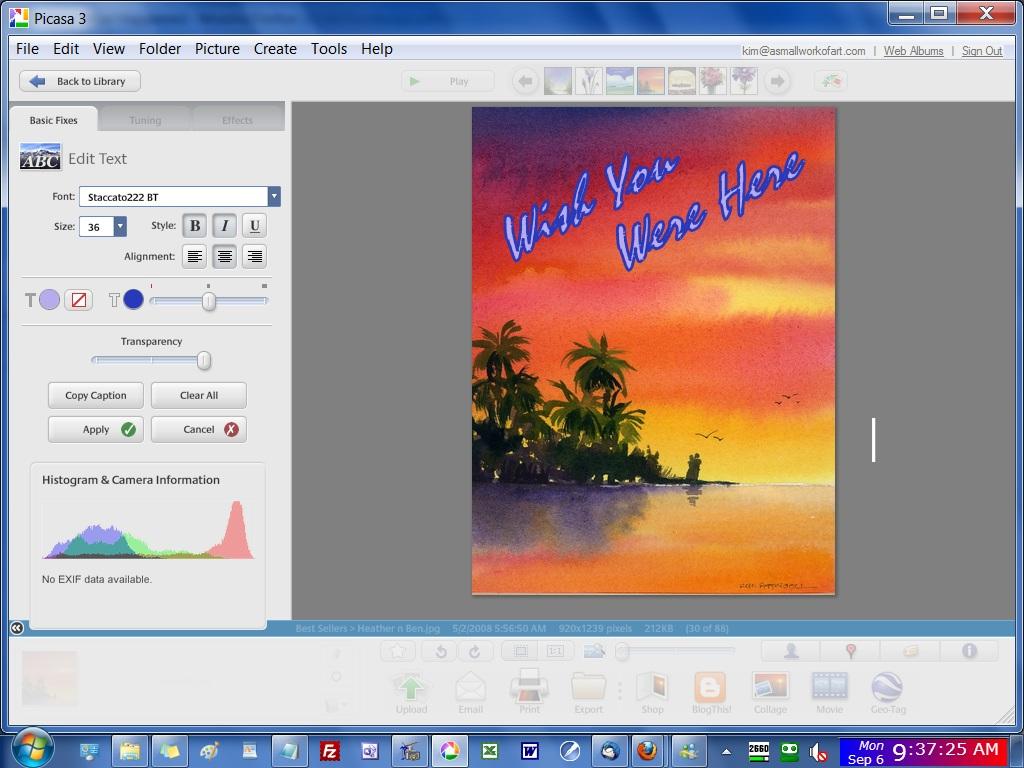
6. Here's my second attempt. I've changed the font and colors and put the words on two lines and tilted the box. It doesn't get any easier.
|
