- HandmadeCardsbyKim
- Printing Options
- UniqueCard
Exciting Card Making Ideas to Make Your Handmade Greeting Cards Unique
|
The card making ideas that are available for making the UniqueCard™ live up to its name are limitless. I'll give you many ideas that will get you going, after that the only limit is your own imagination. Just follow these simple
steps
Note: If you've already made a ClassyCard™, you'll notice that the first part of these instructions is similar. The only difference is that you are now downloading the same image that I use to make my highly successful line of art cards. |
Downloading
1. Select the card that you want to print.
2. Click on the UniqueCard™ link under the image.
3. The high resolution image will open in a new window.
4. Right click on the image and select the "Save As" option.
5. Save the image to a folder that you'll remember. Suggestion.....create a new folder called "UniqueCards".
If you've already learned the printing steps in the ClassyCard™ section, you
can skip to the border
application by clicking here.
Printing
Very Important! These images are sized to reproduce exactly what I sell. Specifically, Portrait 525 pixels (3.5 inches) high, Landscape 375 pixels (2.5 inches) high.
If you chose to resize, you will not get the same high quality print.
At this point, there will be many options for printing, depending on your own software. If you use Corel PaintShop Photo Pro, Adobe Photoshop, Gimp or some other top of the line graphics program, I'm sure that you'll already know that you have the ability to place the image anywhere you want on the page.
Even if you've got one of these
programs, you might find one of the following approaches attractive. Picasa in particular is full of editing functions that I use to create many of my new card making ideas.
Picasa (Click here for free download for PC)
(Click here for free download for Mac)
1. Start Picasa.
2. Click on the folder that contains the image.
3. Double click on the image. It will open in its own page.
4. Click on File.
5. Select print.
6. Click on Wallet in the Print Layout box. This is the correct size for printing. If you click on any of the other sizes, you'll see the "Review" button at the bottom right of the page now has an orange border and a warning sign.
If you click on the 3.5 x 5 size, it's called "Good quality", the rest are called "Bad quality".
You only want to print when the "Review" button has no warning!
7. If you have more than one printer, click on the Printer button and select the printer you want to use.
8. Click on the Printer Setup button and make sure that all the settings are correct for the best quality and the correct paper type.
9. Choose the number of copies that you want to print by pressing the plus or minus button under "Copies per Photo".
10. Print.
Windows
Windows operating systems come with photo viewing and printing capabilities and Windows Live has Windows Live Photo Gallery which is a free download.
These programs don't have the powerful editing tools that Picasa has but I'm bringing them to your attention because they arrange the wallet sized images starting at the top of the page. This means that you can print three and salvage the remaining two thirds of your page.
I would not recommend using the last third of the page if you only print three images the next time. The remaining narrow strip will almost certainly jam your printer and could damage the print head.
1. Start your Windows Photo program.
2. Click on the folder that contains the image.
3. Double click on the image. It will open in its own page.
4. Click on Print to open the drop down menu.
5. Select Print
6. If you have more than one printer, click on the Printer button and select the printer you want to use.
7. Click on the Paper size button and select Letter size from the drop down menu.
8. Click on the Quality button and select Custom.
9. Click on the Options link (bottom right).
10. Click on Printer Properties in the Print Settings box and make sure that all the settings are correct for the best quality and the correct paper type.
11. The Paper type button should now read correctly.
12. Click on Wallet.
13. Select how many copies of each image you want.
14. Important. Uncheck Fit picture to frame
15. Print.
Border Application
This is the beginning of the process that will make your card outshine a simple printed card.
You'll learn how to apply a gold or silver border. Even the best printers don't have gold and silver in their palettes. This is the first of many simple card making ideas that will make your cards stunning!
1. First, carefully cut out your printed image, preferably using a paper cutter but if you don't have one, use a utility knife with a sharp blade and a metal straight edge.
Note: Click on any image to see larger size.
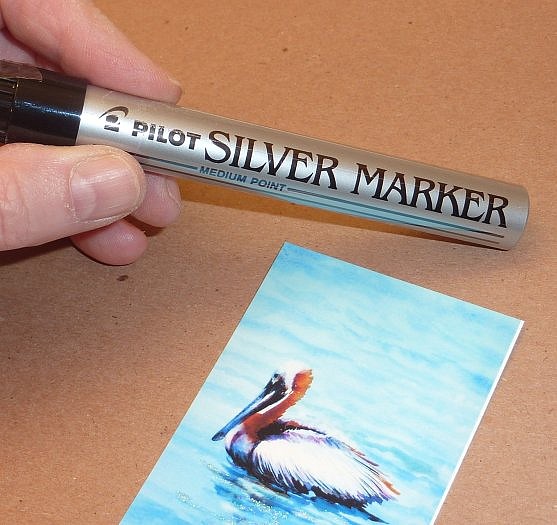
2. I've always found that the Pilot medium markers give the best results for the borders. They're available at Staples, Office Depot, Quill and art supply stores. Feel free to experiment, you might find something that works better for you.
I choose gold and silver because they lend themselves to framing in standard metallic 5 x 7 frames and actually work well in any frame. Rich reds and greens work wonderfully on many Christmas greeting cards. This is all about your card making ideas, so play with the colors, there are so many possibilities.
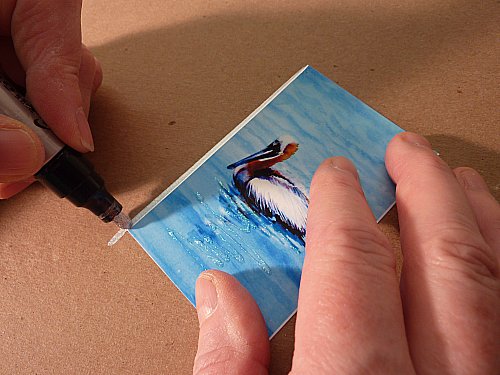
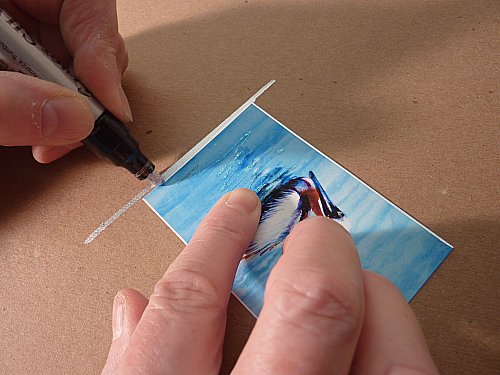
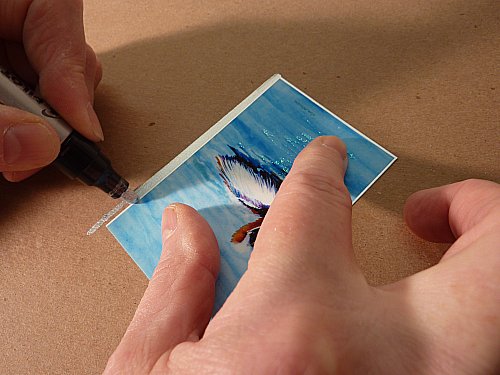
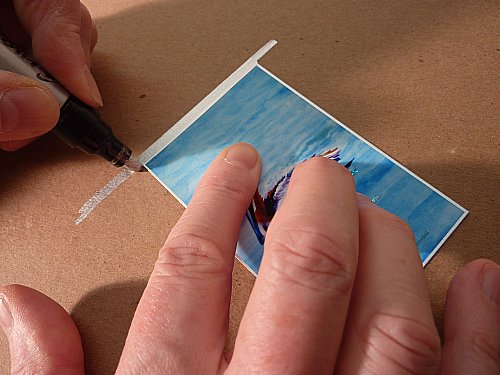
3. Hold the image firmly on a piece of scrap board or paper and using about half the width of the tip, pull it steadily along the edge in one smooth stroke. Part of the paint stays on the image and part stays on the scrap. The thickness of the photo paper that you printed on serves as a guide for the marker. Try practicing on a few scraps of the photo paper. I always test my marker first on a "sloppy copy".
4. Turn the image 90 degrees and repeat step 2.
5. You've got it. Turn the image 90 degrees and repeat step 2 again.
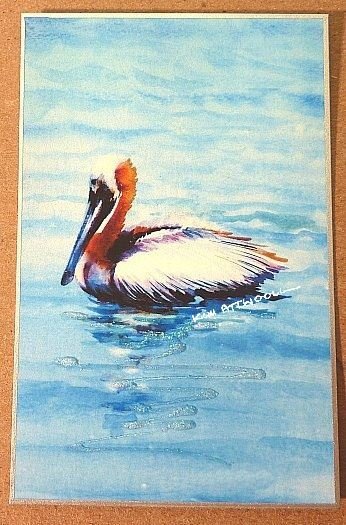
6. Last one! Turn the image 90 degrees and repeat step 2 again.
7. Great job!
Click here for Mounting Instructions
If you've already learned the mounting steps in the ClassyCard™ section, you can skip to the Making it Unique area by clicking here.
